There are a ton of dollar store crafts that can turn seemingly cheap products into a stunning treasure! If you’re planning any sort of celebration such as a wedding reception, baby shower or birthday party, the dollar store is the place to hit up for some amazing décor and centerpiece ideas! If you’re looking to spruce up your home, you’d be surprised at what you can make using a few select purchases! These dollar store crafts are easy and cheap to make, so jump right in!
Thanks for sharing your thoughts.
Want more like this? Subscribe for personalized picks.
Successfully subscribed.
Check your inbox for personalized content.
1. Cupcake Stand
/filters:quality(70)/content/diy/2013/06/1_cupcake-stand1_400x600.jpg)
This is one of the most useful dollar store crafts you can make. I call these cupcake stands, but really, you can use them for anything! Pop one on your bathroom counter to store your jewelry, one on your dresser as a catchall for your trinkets or use it as a cupcake/pastry or appetizer serving tray! They’re so cheap to make you can have several of them in various sizes all over your house to help keep you organized! All you need are 3 plates and 2 candle holders, that’s a total of $5 for such a cute and functional craft! Lay one plate down and use a strong glue to affix the first candle holder. Lay the second plate on top, followed by the second candle stick and then the third plate. You can use plates that are all the same size or a trio of gradually smaller and smaller plates. You can even use mirrors, which most dollar stores carry in various sizes!
2. Cheap and Easy Focal Point Mirror
/filters:quality(70)/content/diy/2013/06/2_cheap-and-easy-focal-point-mirror1_600x800.jpg)
Isn’t this beautiful? If you bought this in a store like Bed Bath & Beyond or Crate & Barrel you’d pay a pretty penny, but if you make a knock off version yourself, it only costs $20 (plus a little more if you don’t have duct tape or glue on hand). To make this gorgeous piece you need 20 individual framed mirrors at $1 each and a foam board ($1). Flip all of your mirrors over so that they are lying face down in 5 rows of 4 mirrors. Use duct tape to tape each row of 4 together. Use a LOT of tape! Now tape the 5 rows together, making sure to reinforce the seams where they come together. Slather the back with hot glue and affix your foam board. Try to use a board that is the same color as your frames.
Source: dollarstorecrafts.com
3. Candy Dish
/filters:quality(70)/content/diy/2013/06/3_candy-dish1_600x800.jpg)
I love this adorable candy dish! You can fill it with gumballs, Hershey’s Kisses or any candy your heart desires! You need one 4” Terra Cotta pot, two 4” Terra Cotta saucers, one bubble bowl, and a wooden ball or other knob-like trinket. Paint your Terra Cotta pieces and use adhesive (super glue/hot glue) to put the whole thing together. Turn the pot upside down and glue one of the saucers to the top (originally the bottom). Glue the bowl on top of that and make a lid out of the second saucer and the knob.
Source: wrapcandy.com
4. Floral Centerpiece
/filters:quality(70)/content/diy/2013/06/4_floral-centerpiece2_554x831.jpg)
This is beautiful for a wedding centerpiece, but it is equally as gorgeous on your dining room table at home! You can make this as extravagant as you want, or you can limit it to only a few vases. You need the glass tube vases, a few types of fake flowers, distilled water, floating candles and a circular mirror. You can buy all of these items at most dollar stores, the colors can be changed to suit your theme or color scheme. Set all of the tubes onto the mirror (you can glue them down if you want it to be a long lasting fixture) and place long stemmed flowers into the vases. Fill them with distilled water and top each tube with a floating candle. It looks best with various sized tube vases, but you can use vases which are all the same size if you can’t locate the assorted sizes. If you’d like, scatter a few tea lights or votives around the base for added light.
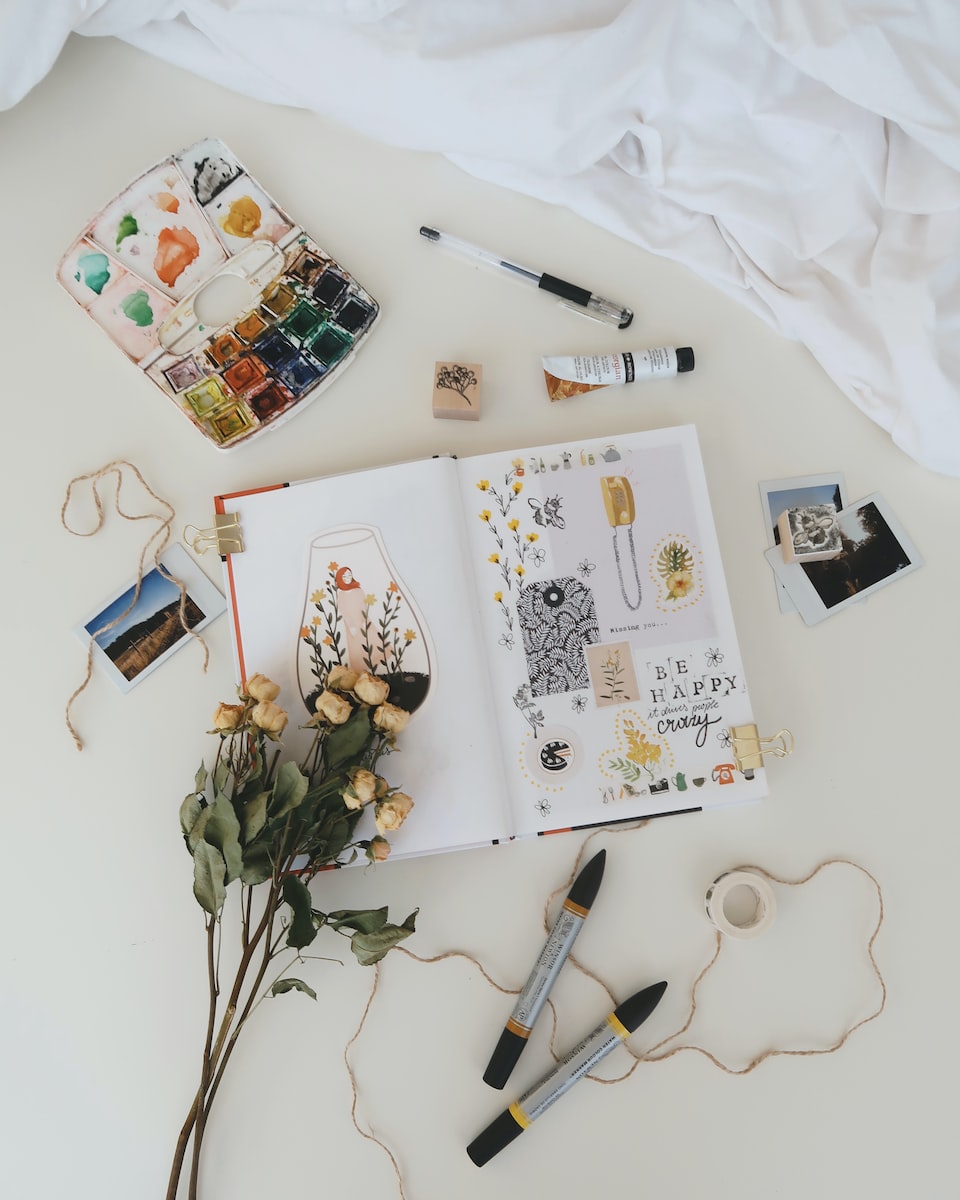
"Finding creativity in every aspect of life, women constantly seek out new outlets for their talents. Among one such talent is the gift for preserving memories in an innovative, artistic way. If you're looking for some fresh inspiration, check out these fantastic scrapbook ideas to add a touch of personal flair to your collection. Let your creativity bloom!"
5. Stone Shower
/filters:quality(70)/content/diy/2013/06/5_stone-shower1_600x800.jpg)
Alright, this one takes a lot (and I mean a LOT) of patience to complete, but you CAN do it and it is a far cry cheaper than paying someone else to do it or buying the tile from a tile store. I fully plan to do this when we move into our new house, but I think I’ll start off with just the floor. You need several 2 lb bags of stones. The person in the tutorial who covered their entire shower used 53 bags, just to give you an estimate. Glue each stone in place using tile adhesive. Once the whole area is covered in stones, cover it with grout and remove all of the excess. When you have finished and everything has dried you will need to use a stone sealer to make sure water doesn’t work its way in. I love this and I can’t wait to do this on my own, even though I know I’ll probably whine and complain about how tedious it is as I’m doing it. The massaging effect the stones have on your feet is amazing.
Source: picklee.com
6. Party Garland
/filters:quality(70)/content/diy/2013/06/6_party-garland1_600x896.jpg)
This is a purely amazing idea that I would never have thought of on my own! A significant amount of dollar stores carry foam pool noodles now that the weather is warmer. All you need to do is cut them into even sections and use a large needle and fishing line to string them together! This would be awesome for a pool party, but you can use it as a party garland for any occasion!
**Source: **lovelypartythings.com
7. Easiest Backsplash on Earth
/filters:quality(70)/content/diy/2013/06/7_easiest-backsplash-on-earth1_425x640.jpg)
I am going to end my list with the easiest DIY project that has ever existed. If you’re renting and you can’t deface your kitchen walls, or if you don’t want to spend the time it takes to create a tile backsplash OR if you are prone to wanting a change on a whim… this is your project! This kitchen backsplash is made solely of plastic placemats bought from the dollar store and tacked to the wall with tacks that match the color of the placemats. How amazing is this?!
**Source: **curbly.com
Now that you’ve seen these awesome dollar store crafts, it is time to head on down to your local dollar store and pick up all of the things you need to fashion yourself some DIY décor! Personally, I can’t wait to put a stone floor in my shower. What dollar store craft projects are you most excited about?
Thanks for sharing your thoughts.
Want more like this? Subscribe for personalized picks.
Successfully subscribed.
Check your inbox for personalized content.
Add allwomenstalk.com as a preferred source on Google to see more of our trusted coverage when you search.

Don't Miss the Latest Version
Get the latest stories, save favorites, and share with friends — all in one place.
New Earn badges & level up while you read
Create your profile. Earn badges. Level up your reading.
Join Allwomenstalk to track your streaks, collect badges, and earn XP for the things you already do—reading, sharing, and taking quizzes.
- 🔥Daily streaks with gentle boosts for 3, 7, and 30 days.
- 🏅Collect badges like Reader I–III, Socialite, and Quiz Ace.
- ⚡️Earn XP for reads, deep reads, likes, comments, and shares.
It’s free. Takes 30 seconds. Already have an account? Sign in.


Feedback Junction
Where Thoughts and Opinions Converge
2013-06-26T06:01:44.000Z
2013-06-26T04:55:15.000Z
2013-07-02T10:48:32.000Z
2013-06-25T22:53:21.000Z
2013-06-26T00:21:38.000Z
2013-06-25T22:45:14.000Z
2013-06-26T05:02:24.000Z